Raspberry Pi for TV Slideshow
NOTE: I've also wirrten a script that can perform most of the setup. See here: Bash Script
Within the past year, I've had several customers ask me for digital signage solutions. I looked at commercial solutions for them, but they either
- didn't have all the features they wanted or
- were out of budget.
The main features the customers needed were
- HDMI - can be displayed on normal TVs bought from wherever
- Dynamic - information being displayed needs to be pulled from either internal systems or from user-defined input (WYSIWYG)
- Possibly have slideshows
- Cheap - Obviously there's development costs, but they don't want to spend $10k for a license of something and then have to pay maintenance or whatever else
- Ability to work across the wireless network
The plan
After doing some research, thinking, and maybe some beers - I decided I would use a Raspberry Pi running linux that boots into Chrome Kiosk mode and loads a webpage. This webpage would then display whatever I wanted using HTML5/Javascript.
Hardware and Software
Raspberry Pi
I went to Amazon and bought a Raspberry Pi 3 Kit that includes the case and memory card. Here's the one I bought: CanaKit Raspberry Pi 3 Complete Starter Kit - 32 GB
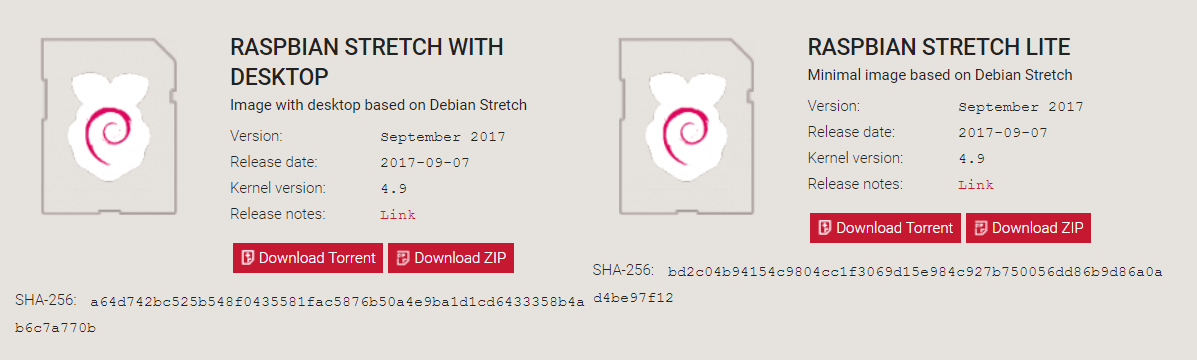
Raspbian Desktop - https://www.raspberrypi.org/downloads/raspbian/
Make sure you download the full desktop version, as we’ll need to be launching Chrome in kiosk mode.
Win32DiskImage - https://sourceforge.net/projects/win32diskimager/
I’m not a big fan of installers, so I went and downloaded the -Binary.Zip file from the archive. This will let you run the application without having to install anything. https://sourceforge.net/projects/win32diskimager/files/Archive/
SDFormatter - https://www.sdcard.org/downloads/formatter_4/
This is required for formatting as FAT
Installing Raspbian
This is for directly installing Raspbian. You could probably achieve the same using NOOBS. If you were going to install a bunch of these devices, it would probably make sense to engineer a custom image, or possible use https://www.raspberrypi.org/blog/pibakery/
Run SDFormatter and format your SD Card. This may not be strictly necessary, but it doesn’t hurt.

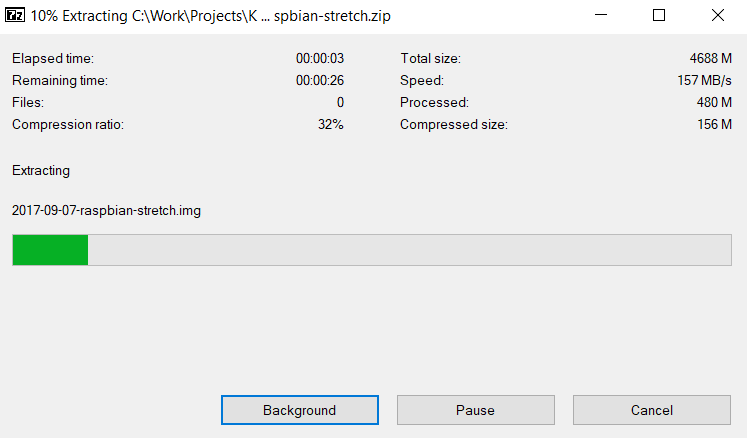
Extract the Raspbian image. I use 7zip.
Run Win32DiskImage
Select the Raspbian image file you downloaded.
Select the drive of your SD card in the ‘Device’ dropdown. Make sure you chose the correct one. Otherwise, you risk damaging the data on your hard drive.
- Select Write and wait for the process to finish. That’s it!
Now you can plug the SD card into your Raspberry Pi’s slot.

Setup Raspbian
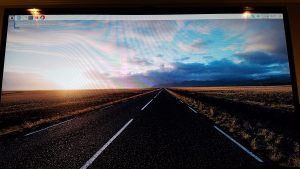
- Raspbian will boot automatically to the desktop.
- Hook up a keyboard / mouse to interact
- If you wish to set up wifi, you can do it using the GUI
Update Packages
Open a terminal and type
sudo apt-get update && sudo apt-get upgrade -yInstall Chromium
Open a terminal and type
sudo apt-get install chromium-browserIt will likely already be the latest version
Fix the keyboard – For whatever reason, my keyboard was set to GB.
Edit /etc/default/keyboard and change it from gb to us
Run: sudo reboot
Install additional tools
Open a terminal and type
sudo apt-get install x11-xserver-utils unclutterScript the browser to start in kiosk mode
Run: cd .config/lxsession/LXDE-pi/
Run: sudo nano autostart
Add this line to the end
@chromium-browser –kiosk –no-first-run –disable-java –incognito https://yoururlhere
@xset s noblank
@xset s off
@xset -dpms
@unclutter -idle 0.1 -root
These lines will autostart the chromium browser and also prevent the pi from going to sleep.
Set up a static IP
Run: sudo nano /etc/dhcpcd.conf
Type in the following lines on the top of the file: interface eth0 static ip_address=192.168.1.XX/24 static routers=192.168.1.1 static domain_name_servers=192.168.1.1.
Run: sudo reboot
Enable SSH
In terminal type: sudo raspi-config
First step should be to change your user password which should be option 2. The default username is pi and the default password is raspberry.
Once you’ve changed your password head to option 8 – Advanced Options and then option A4 – SSH and just hit enabled.
SSH is now enabled, lets test it out. Head to another computer on the same network, if you are on a mac/linux computer you can do this next step from the terminal if you are a PC user however you will need to install a SSH program, my favorite being putty.
Note: These menu options have been moved around, just navigate around until you find them 🙂
Wrapping up
At this point, you should have a fully-functional raspberry pi, with SSH, that you can configure to point to a website.

Next steps are to code a custom web app that dynamically displays data from a database/internal systems. I'll get into that in Part 2!